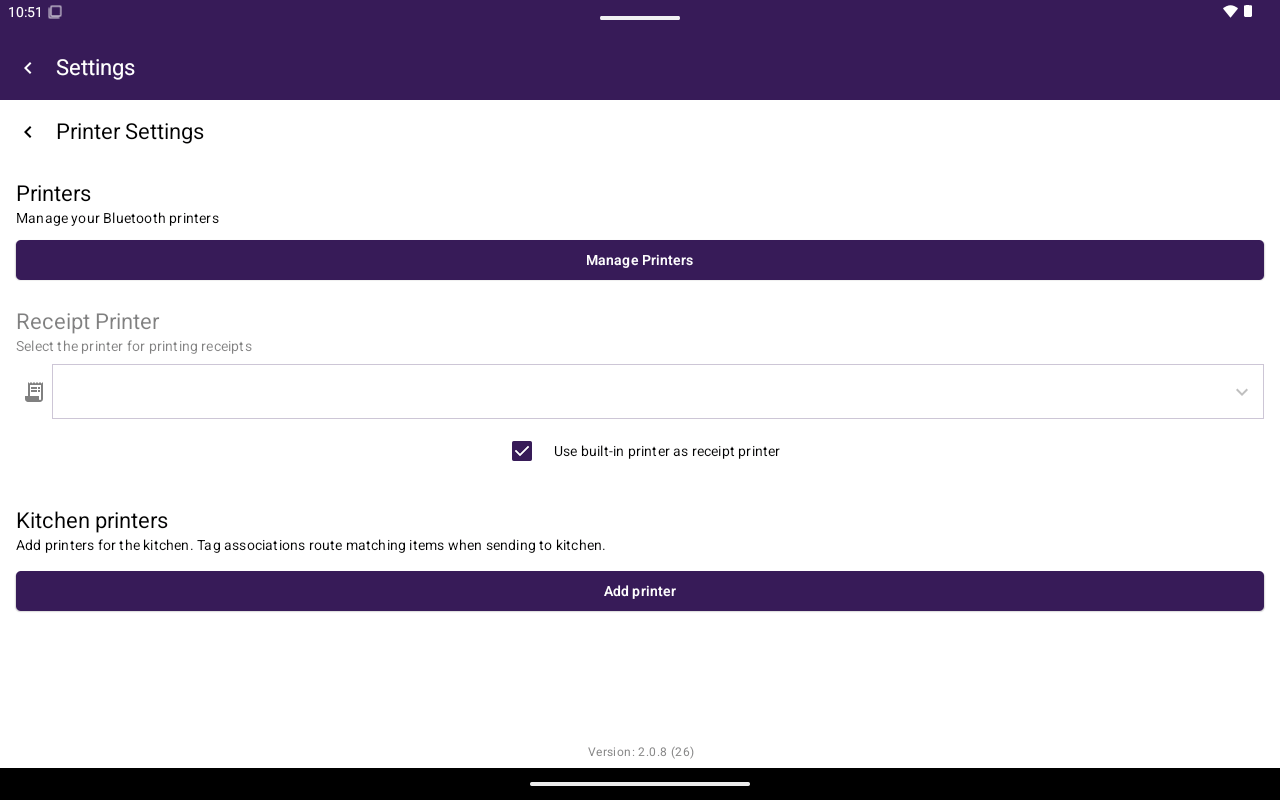
Printer Settings with receipt and external printer sections.
How to get here
Home → Settings → General → Printer Settings.If you open this screen from Register with items in the cart, Taliup POS may ask Continue to printer settings? The cart is cleared if you continue.
Before you start
- Turn the printer on and keep it near the terminal.
- If the printer has a pairing or discoverable mode, turn it on.
- Turn Bluetooth on for the terminal.
Add a Bluetooth printer
1
Open My Printers
On Printer Settings, tap Manage Printers.
2
Add the printer
Tap Add Paired Printer. Select the printer in the list, then tap Save.
3
Confirm it was added
The printer appears under My Printers. Use Rename if you want a clearer name, such as Kitchen or Front counter.
Most terminals do not show a permission prompt during this step. If the terminal asks to find nearby devices or use Bluetooth, tap Allow. Search cannot find printers if that request is denied.
Choose the receipt printer
On Printer Settings, use the Receipt Printer section.
To use a Bluetooth receipt printer:
- Turn off Use built-in printer as receipt printer.
- Select a printer from My Printers, or add one with Add Paired Printer.
- Print a test receipt from a cash sale, or reprint from Transactions.
Add a kitchen or external printer
Use External printers for a kitchen printer or another station printer.1
Open Add external printer
On Printer Settings, under External printers, tap Add printer.
2
Name the station
Enter a Name, such as Kitchen or Bar.
3
Select the printer
Under Paired printer, choose the printer. If it is not listed, choose Add paired printer, select the device, then return to this screen.
4
Set routing
Leave Product tags empty if this printer should receive the full kitchen ticket. To send only some items here, select those Product tags. Turn on Print non-tagged items to this printer if this station should also receive items that have no tag. If more than one printer has that option on, untagged items print on all of them.
5
Save and test
Tap Save. In Register, add an item and tap Options → Send To Kitchen, or complete a sale and send the kitchen ticket when prompted.
Rename or remove a printer
On My Printers:
Remove under External printers deletes only that kitchen or station assignment. The printer can remain in My Printers.