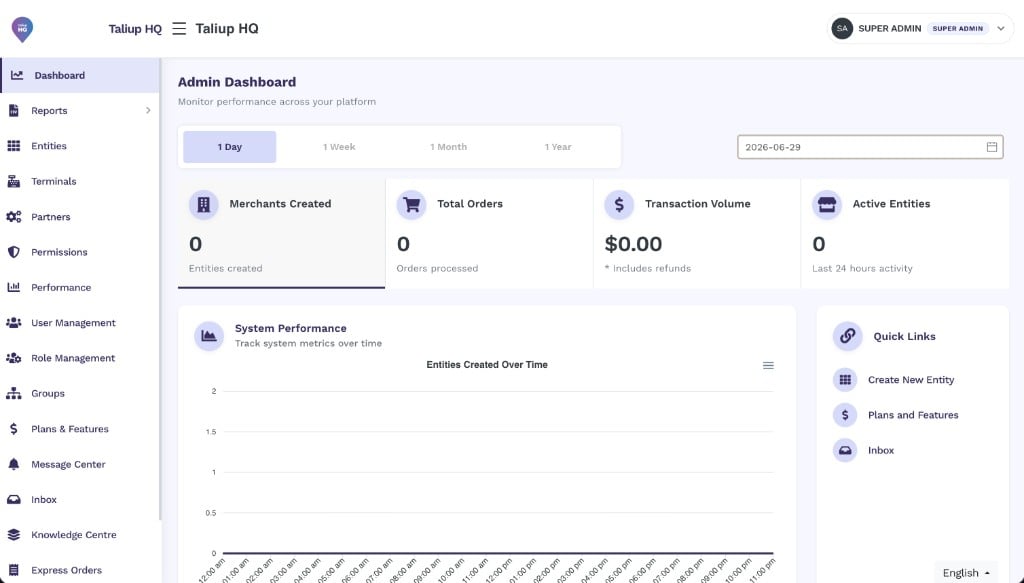
Taliup HQ dashboard — the central hub for merchant and device management.
Onboarding a merchant
Follow these steps in order when setting up a new merchant:1
Create a merchant (Entity)
Create the merchant account in Taliup HQ. This also creates the first Employee user automatically.Create a merchant →
2
Register devices
Before staff can log in on a terminal, each device must be registered in Taliup HQ with the TID from your device provider (for example, PaxStore for PAX terminals).PAX device setup →
3
Configure merchant settings
Optionally configure Plans & Features, Tips, Locations, Virtual Terminal, Dual Pricing, and Surcharge to match the merchant’s requirements. For Québec merchants, enable WEB-SRM before staff enrol a device.Configuration overview →
What you can configure
Plans & Features
Set the merchant’s billing tier and control which features are available.
Tips
Enable tip prompts on the customer-facing payment screen with percentage or fixed-amount presets.
Locations
Manage physical merchant sites, MIDs, and online payment gateway credentials.
Virtual Terminal
Process card-not-present payments directly from the Taliup HQ dashboard.
Dual Pricing
Show a cash price and a card price at checkout, with the difference covering the processing fee.
Surcharge
Add a flat or percentage fee on top of the transaction total for card payments.
WEB-SRM
Enable Revenu Québec WEB-SRM and store the credentials Taliup POS needs to enrol as an SRS.