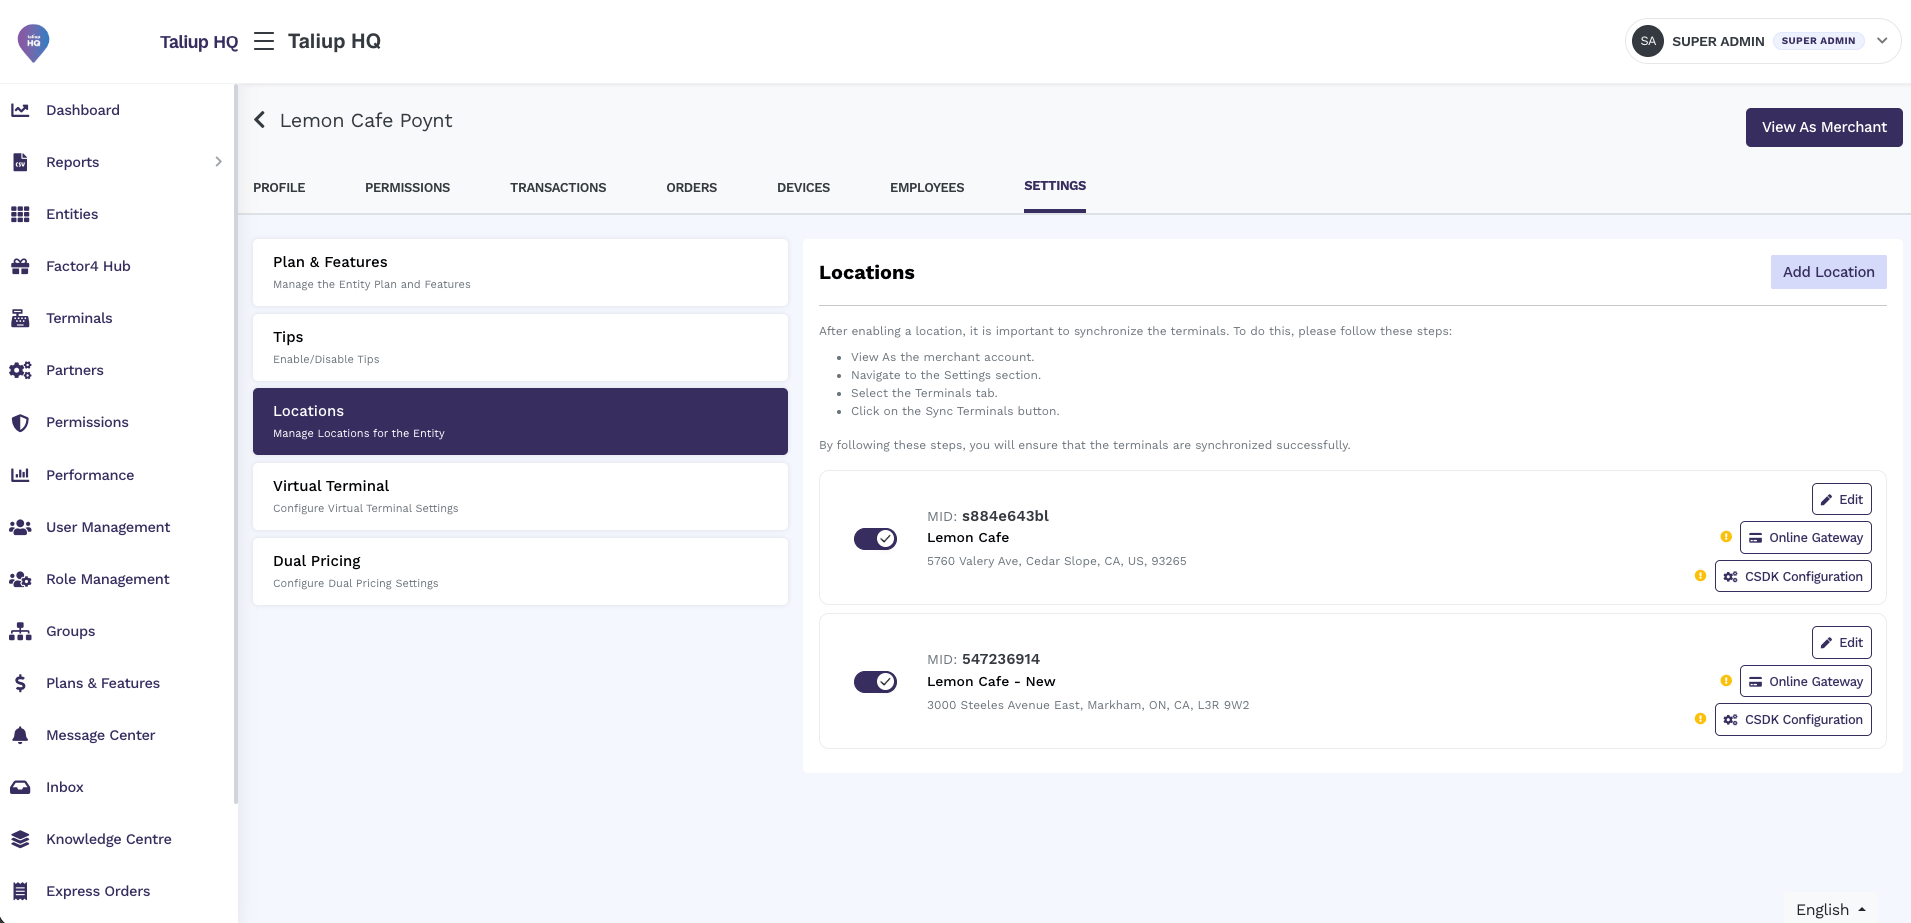
Locations on a Poynt entity, including Add Location and a companion site.
How to get here
Entities → find the Entity → Manage → Settings → Locations tab.Edit a location
1
Open the Locations tab
From the Settings page, click the Locations tab.
2
Open the edit form
Find the location you want to update and click Edit.
3
Update the fields
Update the location name, address, currency, or MID as needed. Ensure all required fields are complete.
4
Save
Click Save Changes.
Enable and disable a location
A location is enabled by default. An ISO Administrator can disable a location at any time.Online Payment Gateway
Each location can have an online payment gateway attached to it. Online gateway credentials are associated with the location’s MID and must be obtained from the acquirer or online payment gateway provider.
The Online Gateway configuration form, accessed from the Locations tab.
1
Open Online Gateway
From the Locations tab, find the location and click Online Gateway.
2
Select the provider
Select the Payment Gateway Provider from the list.
3
Enter credentials
Fill in the required fields for the selected payment gateway (credentials are provided by the acquirer or gateway).
4
Set the environment
Select Live for production payments. If the gateway supports it, select Sandbox to use test cards with card-not-present features enabled for the merchant.
5
Activate
Toggle Active on to enable online payment processing for this location. Toggle it off to suspend online processing without removing the gateway configuration.
6
Save
Click Save Payment Gateway.