Enable Revenu Québec WEB-SRM on a merchant Entity and store the credentials Taliup POS needs to enrol as an SRS.
Taliup POS acts as a sales recording system (SRS / MEV) for Revenu Québec’s WEB-SRM. Taliup HQ stores the merchant’s Revenu Québec identifiers. The POS uses those identifiers on every fiscal request, including the certificate that enrols each device.Complete this page before you enrol a device. If HQ is not configured, Taliup POS shows This business has no WEB-SRM configuration from Taliup HQ.
Entity sidebar → Web-SRM.The menu item is visible only to an Admin when the Entity plan includes the Web-SRM feature. If you do not see it, add the feature on Plans & Features.
The first time you enable WEB-SRM, Taliup HQ creates default Québec GST (5%) and QST (9.975%) taxes if they do not already exist. Any other catalog taxes are removed and replaced with those Québec taxes. Confirm the catalog is ready for that change before you continue.
1
Open Web-SRM
From the Entity sidebar, click Web-SRM.
2
Enable Web-SRM
Turn on Enable Web-SRM.
3
Enter Revenu Québec credentials
Fill in the mandatory fields. Use the values Revenu Québec issued to the merchant.
Field
Example
Notes
User Identification Number
5678912340
Merchant user identification number from Revenu Québec.
User Authorization Code
X1X1-X1X1
Format XXXX-XXXX.
QST Number
5678912340TQ0001
Québec sales tax number.
GST Number
123456789RT0001
Federal GST/HST number.
Billing File Number
ER0001
Revenu Québec billing file number.
4
Confirm and save
Click Save Changes. On first enable, confirm the Confirm Web-SRM Activation modal, then click Confirm and Enable Web-SRM.
You can still adjust GST and QST later in catalog tax settings. Other tax types are not used for WEB-SRM billing.
Taliup POS now includes WEB-SRM (MEV) support, so a merchant no longer needs the standalone Taliup MEV app on their terminal. Remove Taliup MEV and install Taliup POS in its place.
Taliup MEV runs only on the PAX A920 Pro. Repeat this procedure once for every terminal under the merchant that still has Taliup MEV installed.
Log in to PaxStore with your administrator credentials.
2
Find the merchant
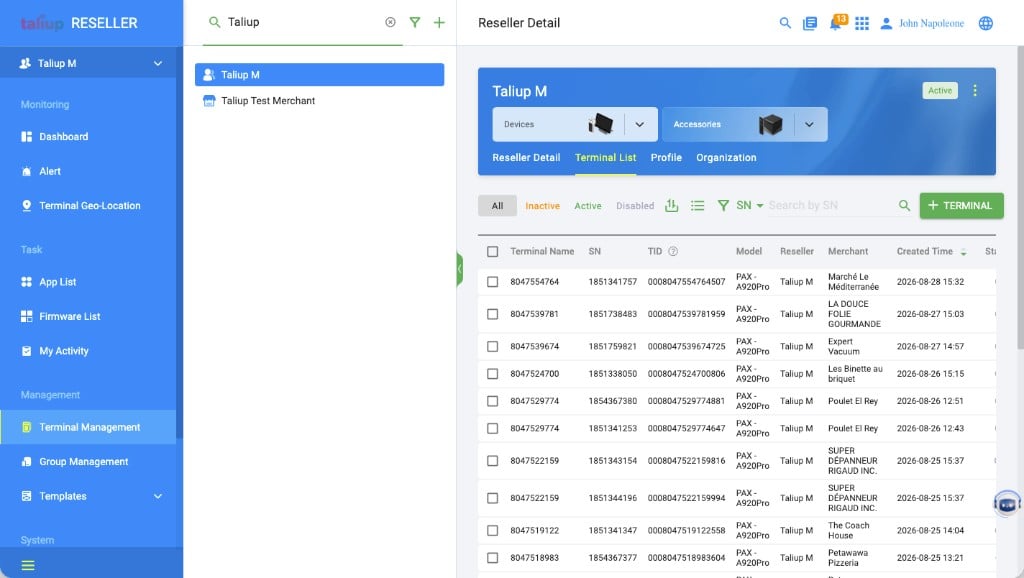
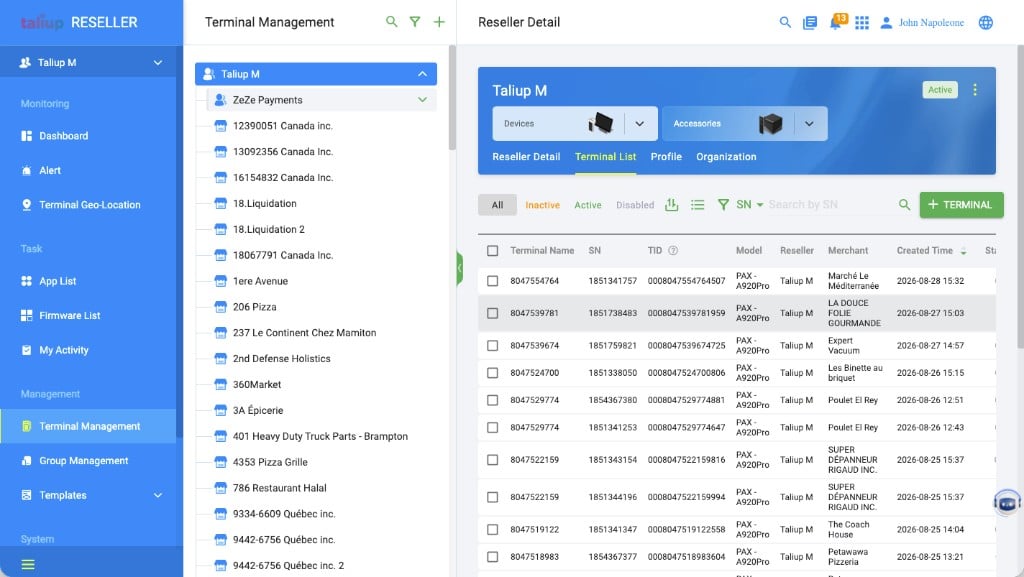
In Terminal Management, search for the merchant or its Reseller. Open Devices, then the Terminal List tab.
Search for the reseller or merchant in Terminal Management.
Reseller Detail with the Devices card and the Terminal List tab. Click a terminal row to open its details.
3
Open the affected terminal
From the Terminal List, click the terminal that still has Taliup MEV installed to open its Terminal Details.
4
Go to App & Firmware
Click the App & Firmware tab.
5
Uninstall Taliup MEV
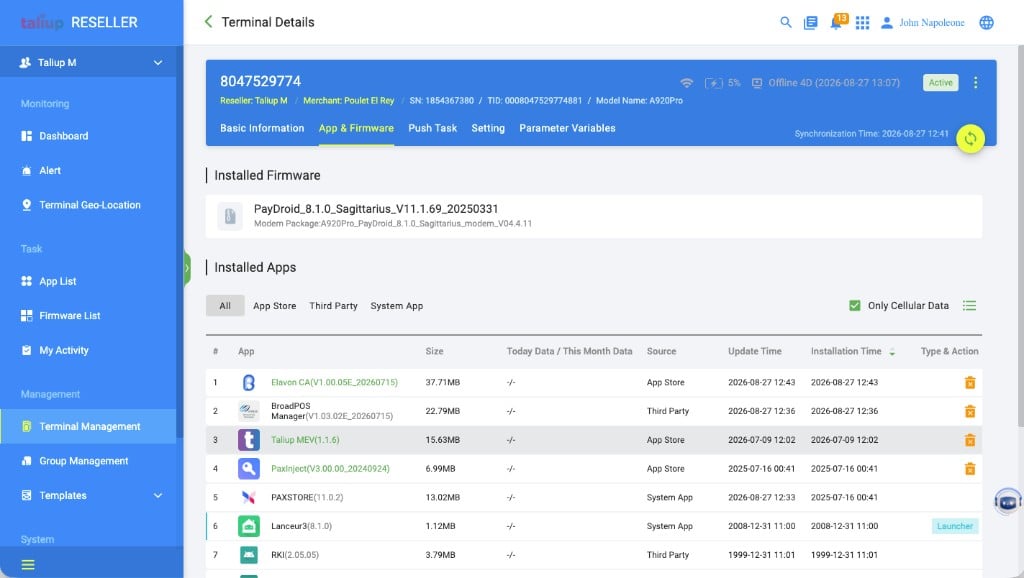
Under Installed Apps, find Taliup MEV and click the trash can icon under Type & Action to uninstall it.
App & Firmware on Terminal Details. Taliup MEV appears under Installed Apps with a trash can in Type & Action.
6
Install Taliup POS
Push Taliup POS to the terminal. Follow the A920 Pro app push order in PaxStore setup — BroadPOS Manager, then the acquirer BroadPOS app, then Taliup POS, confirming each Push Task shows Success before moving on.
If BroadPOS Manager and the acquirer BroadPOS app are already installed and working from the Taliup MEV setup, you only need to push Taliup POS.
7
Repeat for each affected terminal
Repeat steps 3–6 for every other terminal under this merchant that still has Taliup MEV installed.
The app may be a System App, which can’t be removed from Installed Apps. Confirm you’re looking at the right row under Type & Action — only App Store and Third Party entries are removable.
Taliup POS push never completes
Confirm the terminal is online in PaxStore, check the Push Task status, verify Taliup POS is subscribed in the marketplace, then reboot the terminal and retry.
No card prompt after switching
BroadPOS is missing or misconfigured. Re-push BroadPOS Manager, then the acquirer BroadPOS app with VAR parameters, then Taliup POS — in that order.
This business has no WEB-SRM configuration from Taliup HQ on first login
Complete Enable WEB-SRM above, then log out and log back in on the terminal.
With Taliup POS installed, staff can log in on the terminal for the first time and enrol it with WEB-SRM.