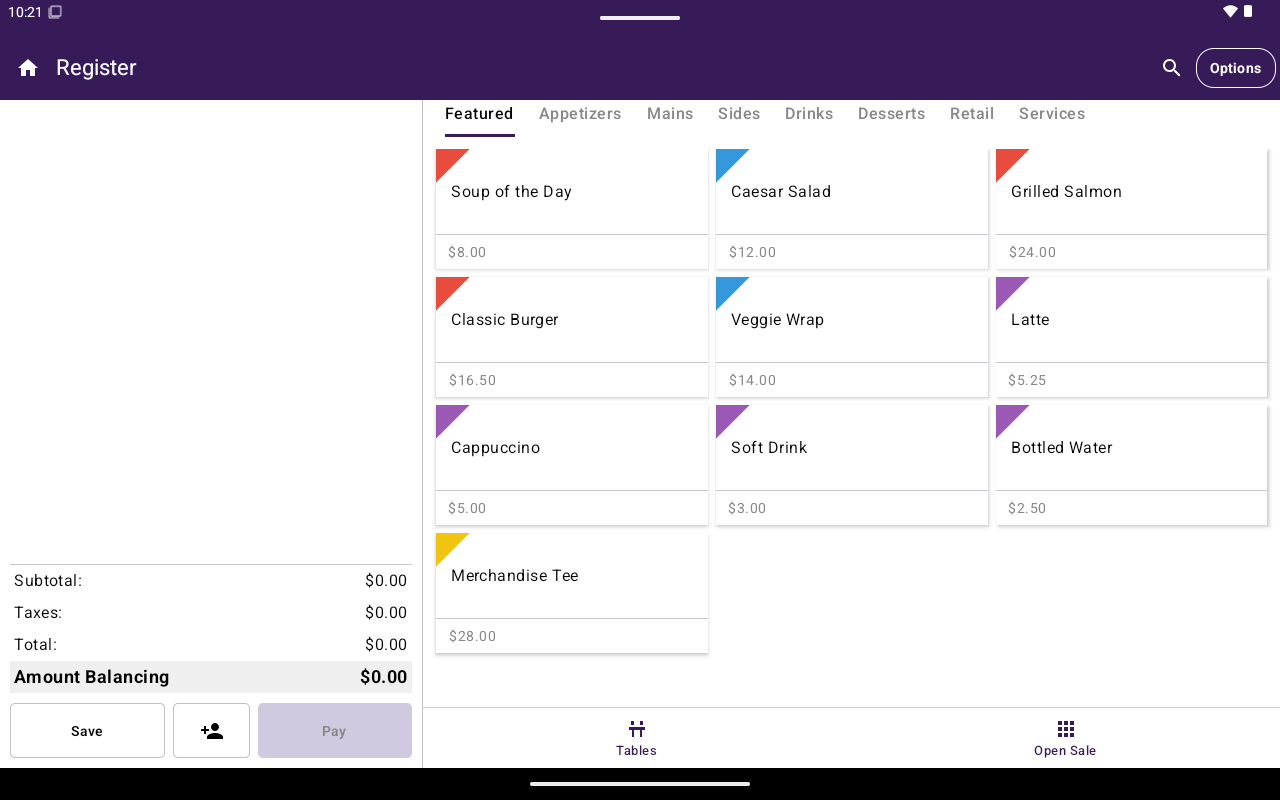
Taliup POS Register screen.
Before you use Taliup POS
Merchant onboarding and device registration happen in Taliup HQ first:- Create the merchant Entity and users
- Register each payment device
- Configure plans, tips, and other merchant settings as needed
Browse by Home section
Register
Open a sale, add items, take payment, and use the options side menu.
Tables
Seat guests and manage table orders when table management is enabled.
Menu / Catalog
Featured, categories, products or items, taxes, discounts, fees, and inventory.
Orders
Find open or past orders and reopen them in Register.
Transactions
Search payments, void, refund, and reprint receipts.
Clients
Create customers and attach them to Register orders.
Link To Pay
Manage payment links, reminders, and recorded payments.
Analytics
Total, itemized, and employee sales charts.
Calendar
Create and manage appointments.
Settings
General, printer, and device settings.
Restaurants see Menu; other industry types see Catalog. The features are the same — only the labels change.