Prerequisites
Invoicing feature enabled
Invoicing feature must be enabled on your entity plan. Ask your ISO admin to enable it in Plans & Features if you do not see Invoices in the sidebar.Client with a valid email
Online payments (optional)
Invoices list
When you have not created any invoices yet, the Invoices page shows an empty state with a clear call to action.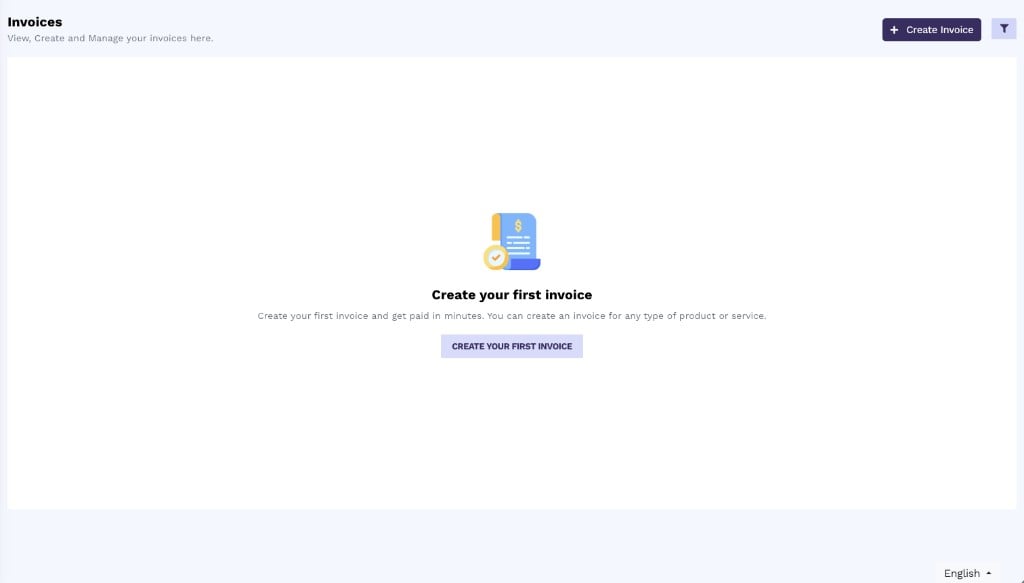
The Invoices page empty state with Create Invoice actions.
- Click + Create Invoice (or Create your first invoice) to open the create form
- Use the filter control once you have invoices to narrow the list
- Sent invoices show Due in X days or Due today as whole days. Overdue invoices show Overdue by X days.
Create an invoice
The create form has a main editor on the left and a live Invoice Preview on the right.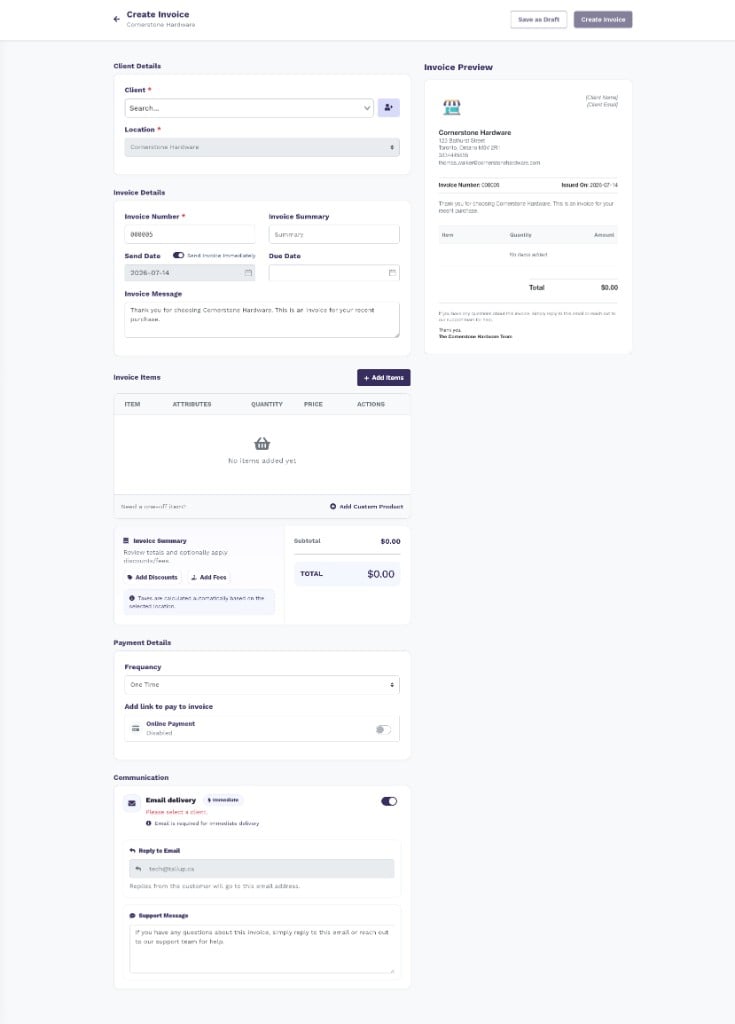
The Create Invoice page with Client Details, Invoice Details, items, payment and communication settings, plus the live preview sidebar.
Client Details
Select who the invoice is for and which location it belongs to.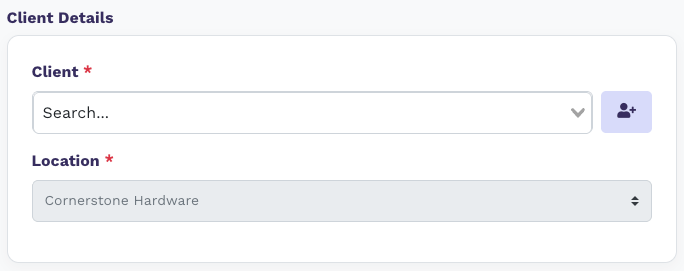
Client Details with Client search and Location.
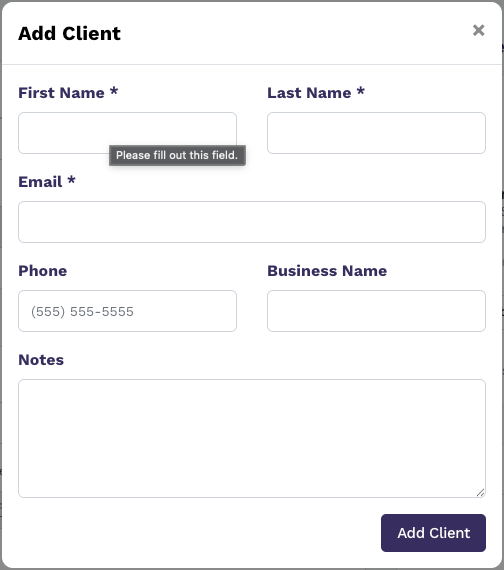
The Add Client modal used from the invoice form.
Invoice Details
Set the invoice identity, timing, and customer-facing message.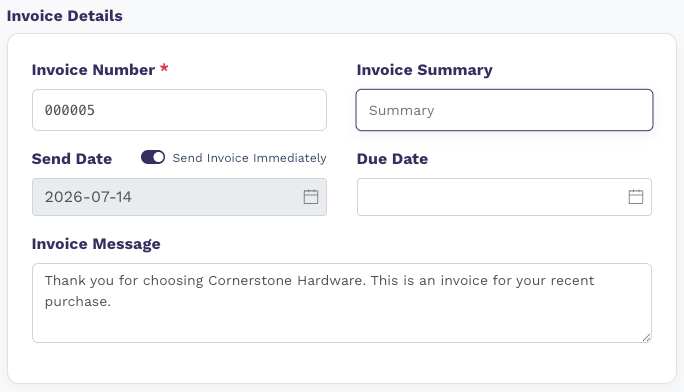
Invoice Details including Send Invoice Immediately.
Invoice Items
Add catalog products or one-off custom products, then optionally apply discounts and fees.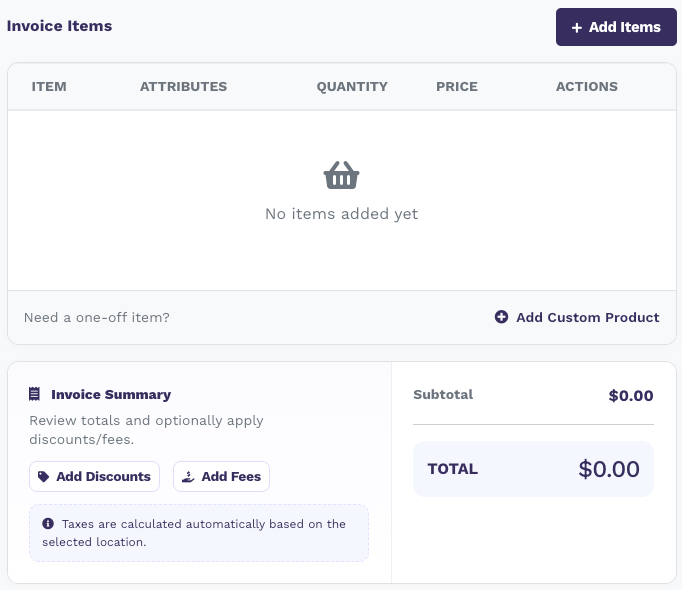
Invoice Items empty state with Add Items, custom product, discounts, and fees.
- + Add Items opens your product catalog so you can search and select line items.
- + Add Custom Product adds a one-off item that is not in the catalog.
- Add Discounts / Add Fees adjust the invoice total.
- Taxes are calculated automatically based on the selected location.
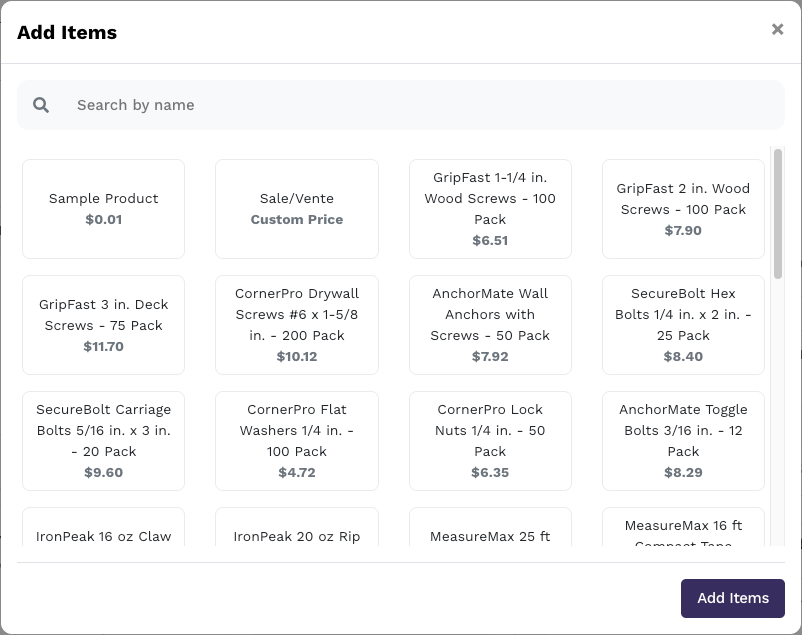
The Add Items modal for selecting products from the catalog.
Payment Details
Choose payment frequency and whether customers can pay online from the invoice.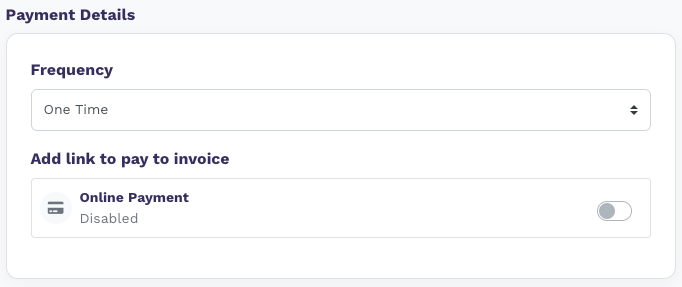
Payment Details with Frequency and Online Payment toggle.
Communication
Control whether and how the invoice is emailed.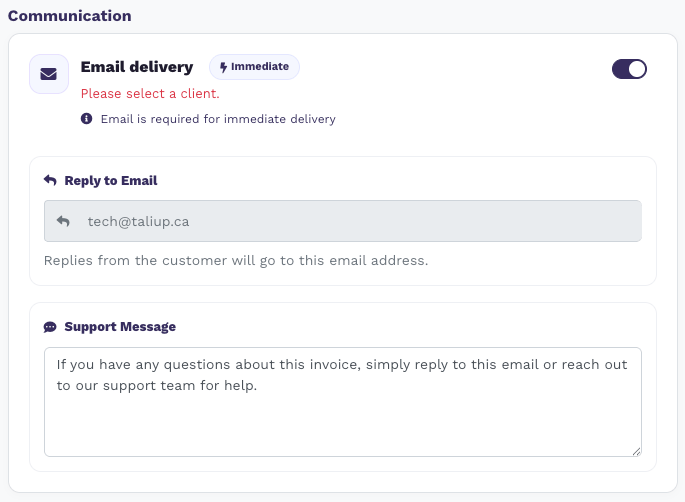
Communication settings for email delivery, reply-to, and support message.
Invoice Preview
The right-hand preview updates as you edit so you can confirm branding, message, line items, and totals before you create the invoice. If the entity has a logo in Settings → Business, that logo appears on the preview and on downloaded invoice and receipt PDFs.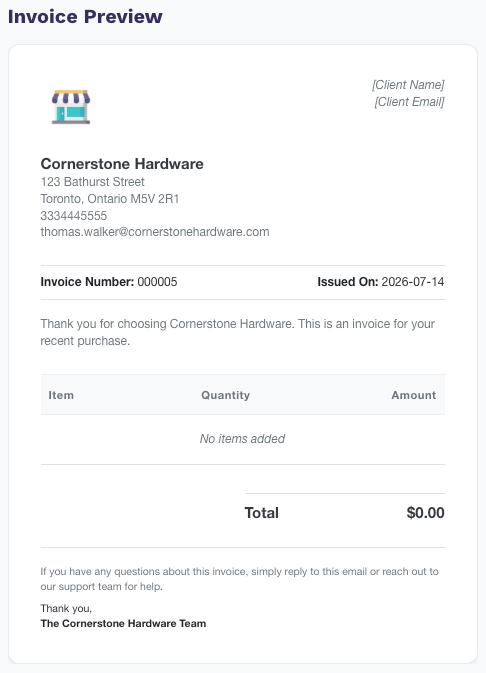
Live Invoice Preview showing merchant branding and placeholders for client details.
Edit a sent invoice
You can edit an invoice after it has been sent, as long as it is not paid.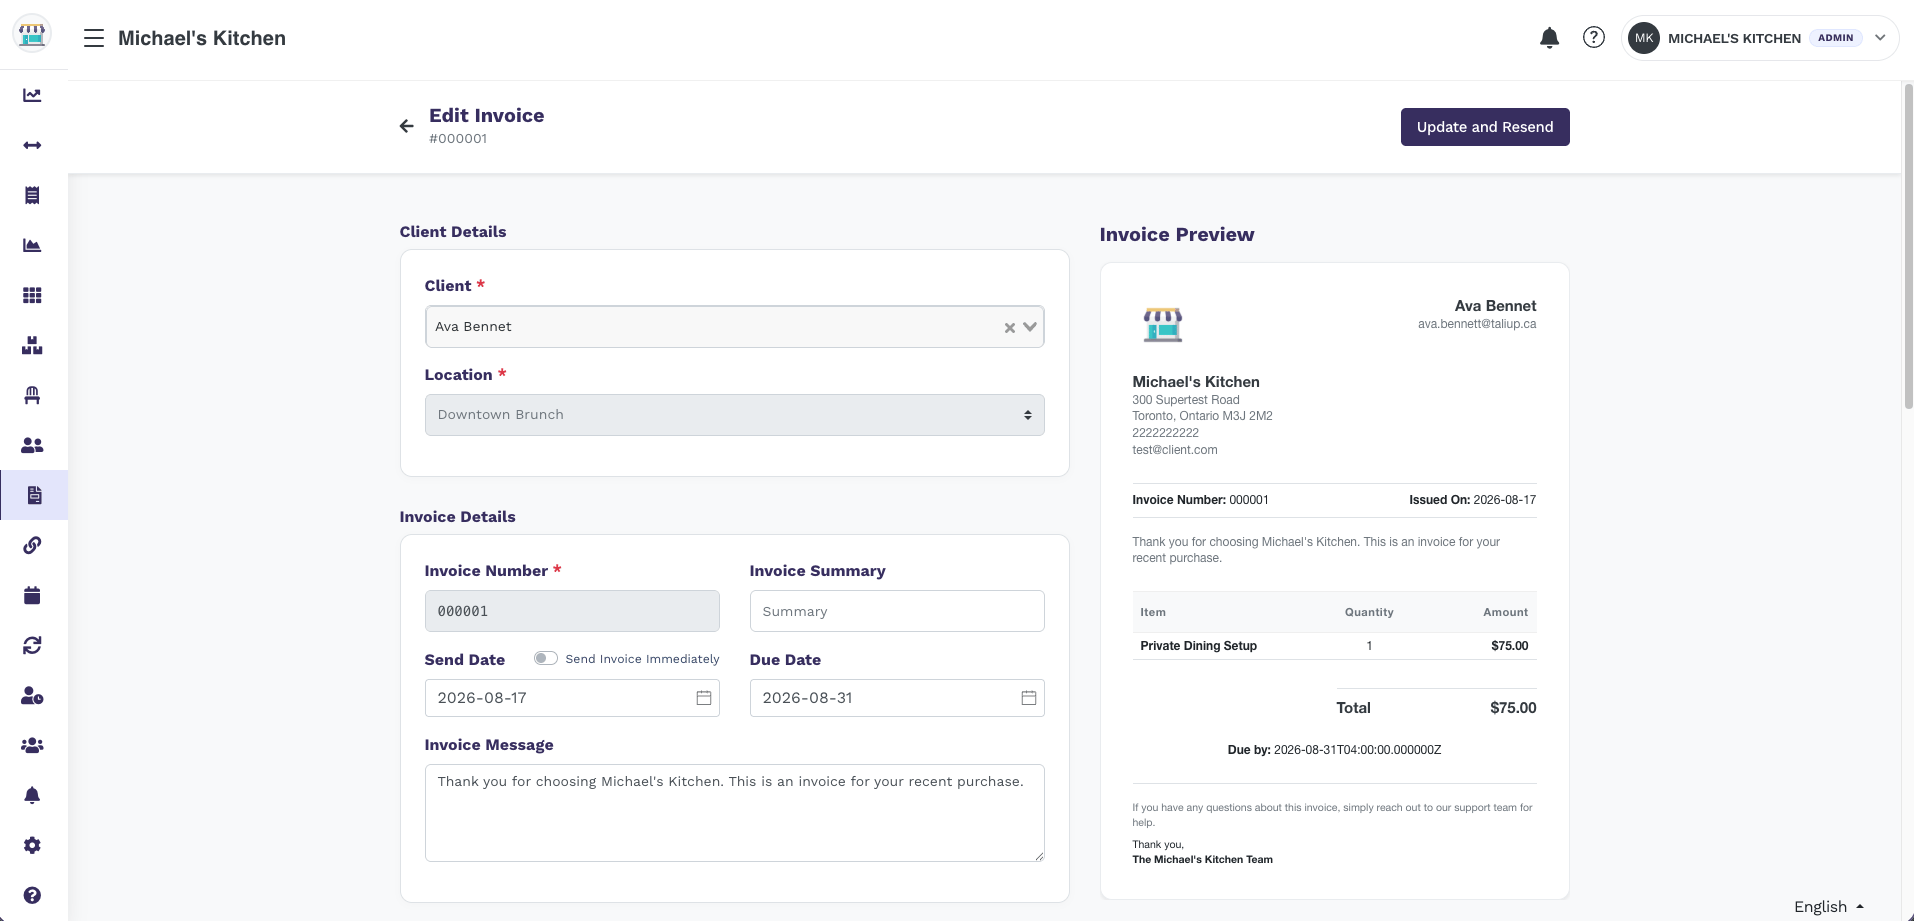
Edit a sent invoice. The header action is Update and Resend.
Open the invoice
Make your changes
Update and Resend
Return stock when you delete an invoice
When you delete an unpaid invoice that held inventory, Taliup can put those quantities back into stock. Set the default in Settings → Invoice Settings → Inventory: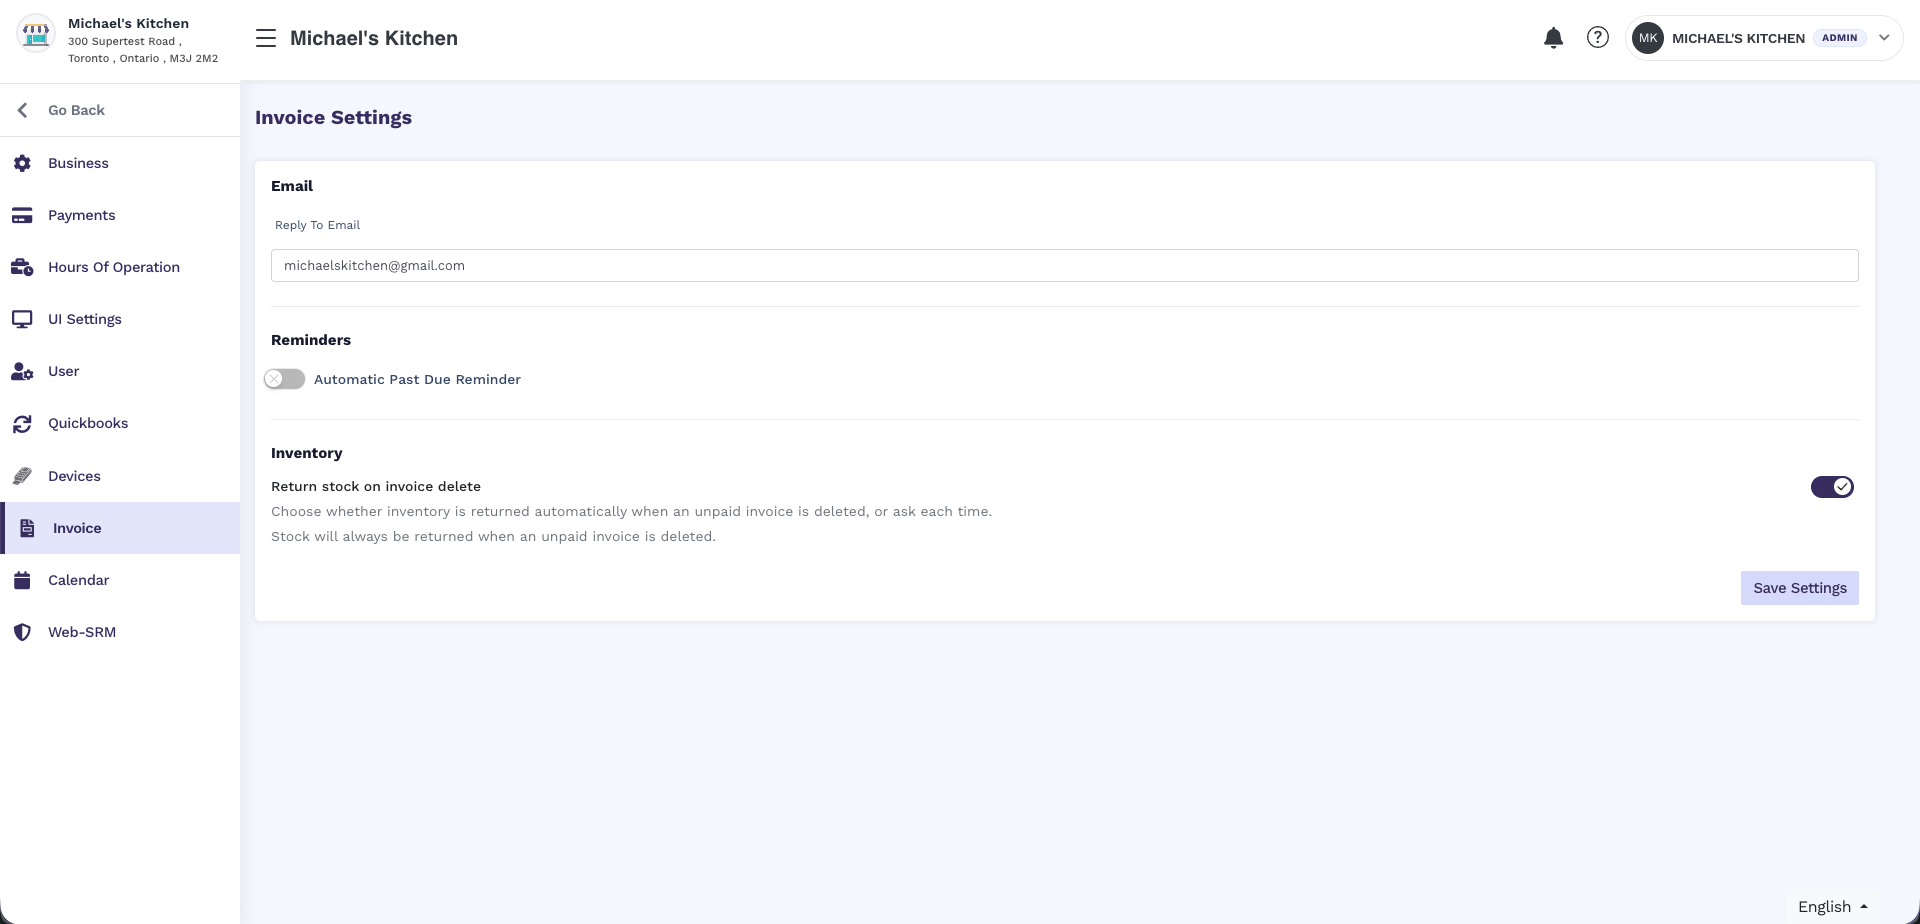
Invoice Settings Inventory section with Return stock on invoice delete.
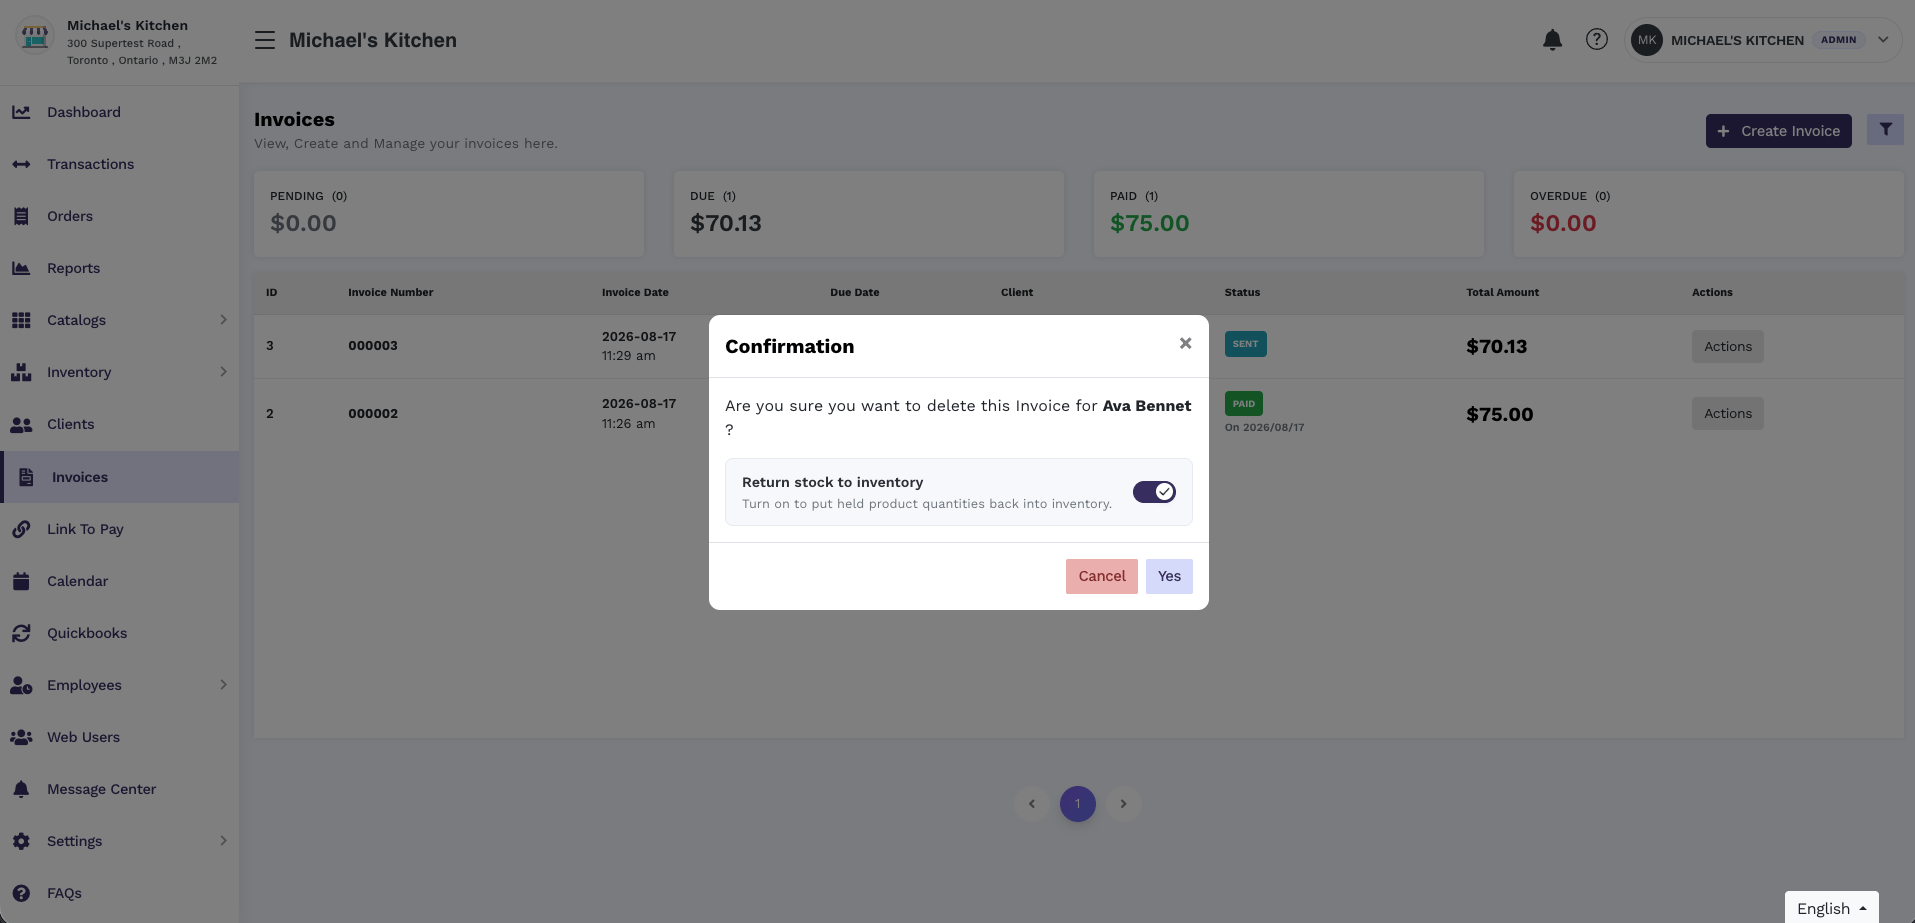
Delete invoice confirmation with Return stock to inventory.
Customer payment page
When a client opens the invoice (from email or a shared link), they see the issued and due dates, line items, and amount due. They can download a PDF from this page.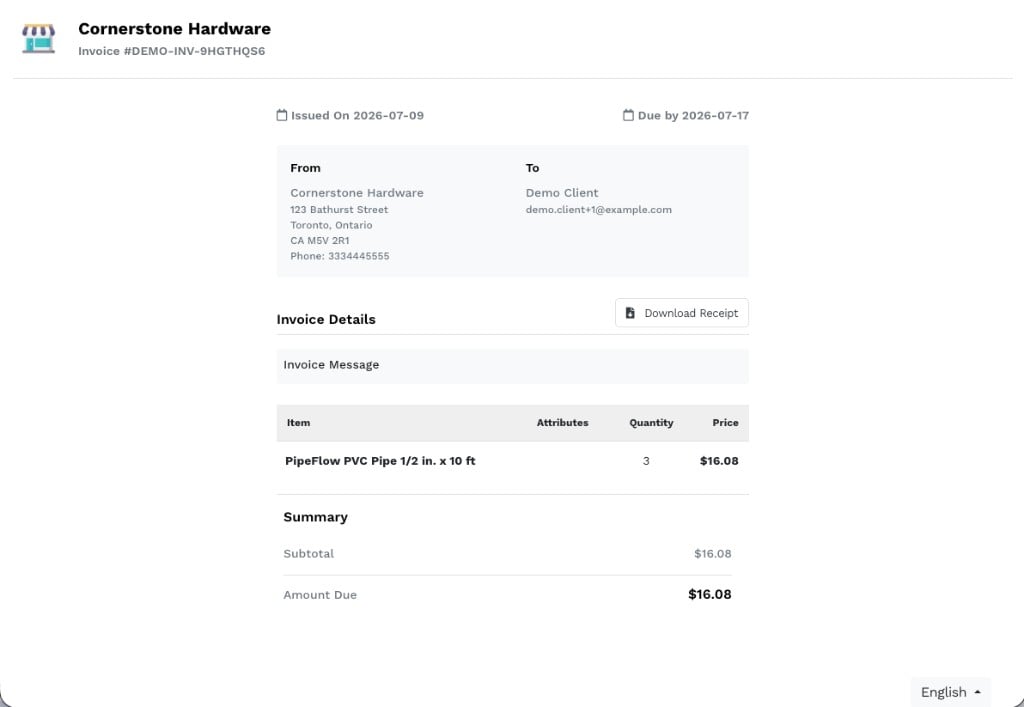
Customer-facing invoice payment page with Download Receipt.
Refunds
Refunding an invoice opens a confirmation step so you confirm the client and capture a reason.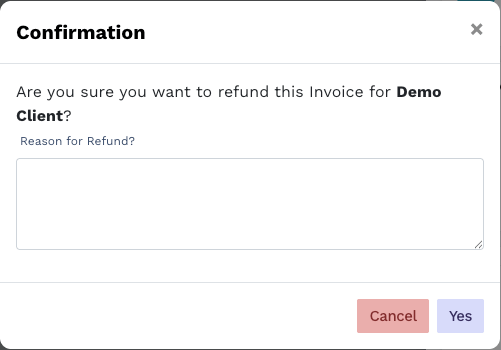
Refund confirmation modal asking for a reason.
- Start a refund from the invoice.
- Confirm the client name in the prompt.
- Enter a Reason for Refund.
- Choose Yes to proceed or Cancel to abort.
Invoice email conditions
An invoice email is sent only when all of the following are true:Troubleshooting
Customer says they did not receive the invoice
- Confirm the client email spelling on the invoice / client record.
- Ask the customer to check Junk / Spam.
- On Outlook / Hotmail, ask whether junk filtering is set to trust only Safe senders. If so, they should mark the message It’s not junk and add the sender to Safe senders.
- Confirm Communication Email delivery was on and whether send was immediate or scheduled for a later date.
Merchant sees a delivery / suppressed email error
If Taliup cannot send because the address was previously unreachable or blocked for delivery:- Update the client to a working email address, or
- Contact Taliup support to review the address before retrying
Online pay link is missing
- On the invoice, open Payment Details and confirm Online Payment is enabled.
- Confirm your plan includes Link to Pay / online payment features and that the location has an online payment gateway configured.