> ## Documentation Index
> Fetch the complete documentation index at: https://docs.taliuphq.com/llms.txt
> Use this file to discover all available pages before exploring further.
# Attach a client from Register
> Attach, change, or remove a client on a Register order.
You can attach a client to the current Register order when the Clients feature is available.
 ## Attach a client
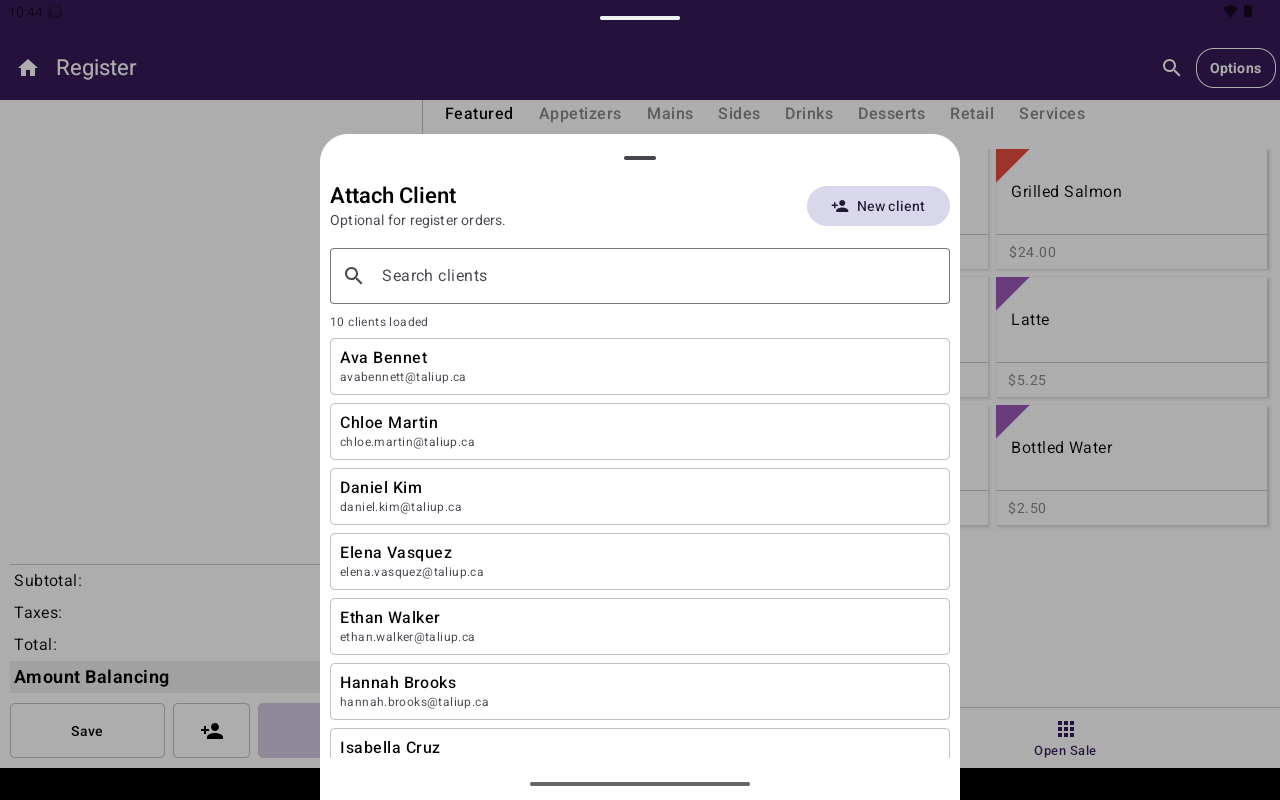
From the Register cart, tap the attach-client control (person icon). The sheet title is **Attach Client** with hint **Optional for register orders.**
Use **Search clients**, pick a row, or tap **Add New** to create inline (**First name**, **Last name**, **Email**, **Phone**).
Tap **Attach Client**. The cart shows **Client Attached**.
## Change or remove
| Action | Label |
| ----------------- | -------------------------------------------------------- |
| Switch client | **Change Client** |
| Remove from order | **Remove Client** → toast **Client removed from order.** |
| View details | **View** / **Tap to view client details** |
Phone validation on inline create expects a valid format (for example `+1XXXXXXXXXX`). Invalid email or missing required fields show inline errors.
## Attach a client
From the Register cart, tap the attach-client control (person icon). The sheet title is **Attach Client** with hint **Optional for register orders.**
Use **Search clients**, pick a row, or tap **Add New** to create inline (**First name**, **Last name**, **Email**, **Phone**).
Tap **Attach Client**. The cart shows **Client Attached**.
## Change or remove
| Action | Label |
| ----------------- | -------------------------------------------------------- |
| Switch client | **Change Client** |
| Remove from order | **Remove Client** → toast **Client removed from order.** |
| View details | **View** / **Tap to view client details** |
Phone validation on inline create expects a valid format (for example `+1XXXXXXXXXX`). Invalid email or missing required fields show inline errors.